PROGRAM - AUGUST 2016
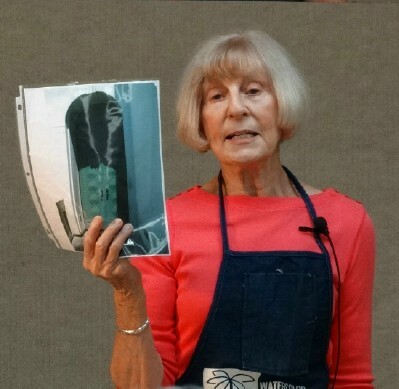
Program Chair, Claudia Taylor, introduced member Carolyn Hibbard, Presenter for August. Carolyn has been painting for quite some time, and loves it! She had her education in Commercial Art and Graphic Design. She is a Charter Member of the GCWS. And Carolyn has continued to learn and experiment with many different kinds of Art and techniques, etc. She has been accepted into quite a number of State Watercolor Societies; has been published in a number of art books, and has won many awards for her work. Carolyn is donating her stipend to the Mary Marxen Scholarship Fund.
Carolyn’s subject for the day is “Pouring”, and she credits Jean Grastorf, who teaches at Spring Maid, with starting and encouraging this technique.
Carolyn began by telling us that the whole painting can be done by “pouring”, or you can just do parts of your painting this way, and also incorporate the use of brushes. The “pouring” is rather quick - - but, the sketching, thumbnail, and learning about your subject before hand takes a bit of time and patience. She works out her values on the thumbnail, pulling out the whites and darkening some parts; pulling out “shapes”. Carolyn’s teacher and friend, Fred Graff, suggests using three shades of gray. As we know - “Color gets the credit; but Values do all the work”.
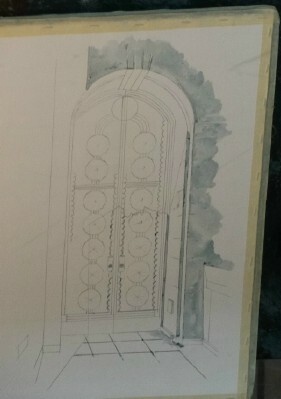
She usually enlarges her photo or reference material so that she can see it very well. Carolyn stretches her paper by wetting it, stapling it down while wet; then when dry, she uses masking tape all around to hold it all down flat. She usually uses Arches 140 lb. cold press. 300 lb. paper usually does not have to be stretched.
She draws the picture and then transfers it to the watercolor paper (so that there will not be any erasures, etc. to ruin the w/c paper). She also advised us to use cheap, cheap or Cheap Joe’s “UGLI” brushes to put masking fluid on your paper; never your good ones. Dip in a bit of soap before dipping into fluid. She uses little cups purchased at GFS to hold the masking; don’t dip into bottle and contaminate it. Later this dried fluid can act as a masking fluid “eraser”. She also uses the little cups to hold her diluted paint; mostly Cheap Joe’s brand; and some Windsor-Newton or Daniel Smith; mostly all transparent.
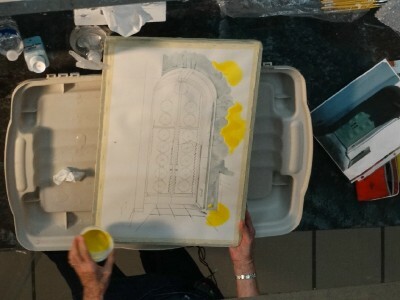
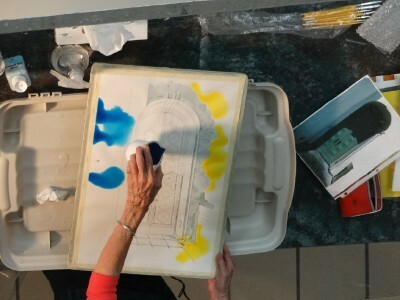
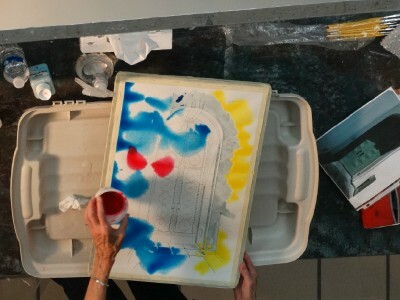
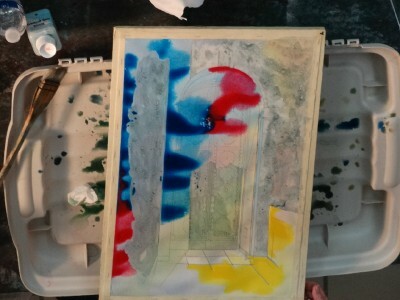
Carolyn usually selects a Blue, a Red, and a Yellow (different shades depending on the painting), with sometimes a little help with darker tone, Burnt Sienna, etc. She advises a very careful test of each of the colors first; mixed up to just the value you want. Use a different brush for each color. Decide on your 3 or 4 values of each of these colors. Then mask out the Whites on your paper. Wet the whole paper, and wipe the edges with a tissue. Keep the water from pooling near the masking. Wipe off any excess water to prevent “blooming”. Pour each of the colors in succession, in the area you will want them to be; but do not pour them on top of each other; just next to each other. Then pick up the paper and turn it in many directions so that the paint will mix on the paper. You can use a “pipette” to put more paint on some places. Turn the paper so that all moisture runs down to one corner; blot it off. Stand it this way until dry.
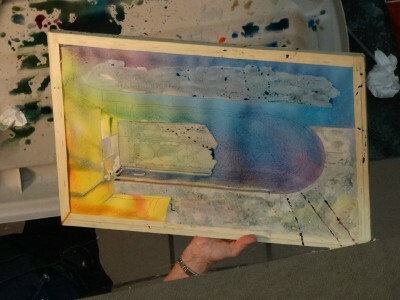
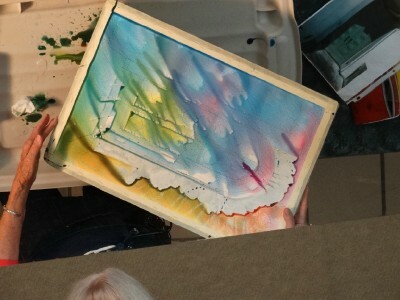
When your paper is Completely Dry — look at it carefully. What do I want to keep this first value? Mask those places. Add more pigment/paint to the cups you used before for your second Value, and test each of colors/values. Wet the whole paper; wipe off excess, and do whole pouring process again. Stand on Corner until Dry.

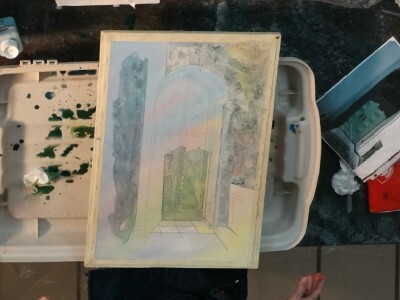
Depending upon your Painting, etc. you may want to do one or two or more “Pourings” - masking areas you want to stay a certain Value, and putting more paint on areas you want to be darker/more vivid, or even use a brush for certain effects.
Carolyn has a “ruling pen”, used in mechanical drawing, that she uses to put on her Pebeo brand masking in a thin line. Some folks stated that Suder’s on Vine Street may stock them.
All attendees enjoyed Carolyn’s Pouring Lesson, the wonderful handouts she prepared, and the Critiques afterwards.
Submitted by Joyce Grothaus, GCWS Secretary, August 2016
Photos by Deb Ward